Working groups sometimes need to handle user-specific information in their code. For example, if your group stores your data in the cloud (e.g., in Box, in Dropbox, etc.) each user will have a different “absolute file path” to the synced version of the data folder on their personal computer. Similarly, groups may find it valuable to use their email address in the code. While you could simply have each group member add their information (file path, email, etc.) and comment out all but one of them when you work in that script, there is a better option: creating a small file to store that information!
The main advantage of this method is that you and your group members will not have to manually change any user-specific information in scripts just because a different person runs them!
Prerequisites
To follow along with this tutorial you will need to take the following steps:
Feel free to skip any steps that you have already completed!
1. Discuss with Your Group
As in so many facets of collaborative work, the first step is to discuss with your group. While creating this small file is useful, you and your group still need to agree on two pieces of information:
What is the name of the small file that each person will have?
A consistent file name lets all scripts expect the same file even though the contents of that file differ for each user
What are the column names that contain the information your group wants to store?
Consistent column names allow scripts to find the user-specific content they need under a predictable subheading
We recommend keeping it simple so consider naming the file “user.csv”. Similarly, for the column names consider short, all-lowercase names that are succinct and clear (e.g., dropbox_path for each user’s path to a local Dropbox sync, email for each user’s email address, etc.).
2. Create the File
Creating the file does unfortunately need to be done manually but it can be done either in script form or via Microsoft Excel/etc. depending on each group member’s preference. For the purposes of this tutorial, we’ll demonstrate how to do this with code.
# Create the data framemy_info <-data.frame("dropbox_path"="~/Users/lyon/Dropbox/LTER Data/","email"="lyon@nceas.ucsb.edu")# Look at itmy_info
1
Note that the column names should be standardized across all group members but the values in the rows should be unique to each user
If your group is using GitHub, we strongly recommend that you add this file name to the .gitignore file. That file tells Git what not to track changes to which is ideal because each member of your group will have a different version of user.csv (but they’ll all share the same name).
This is especially critical if you want to store sensitive information in the user-specific file (e.g., passwords, tokens, etc.).
You can edit the .gitignore by clicking it in RStudio’s “Files” pane and editing it as you would any other file. For a deeper dive on this topic, see our GitHub workshop here.
Once you’re happy with your data frame, save a local copy as a CSV with the file name that your group agreed on.
# Export CSV to your computerwrite.csv(x = my_info, file ="user.csv", na ='', row.names = F)
3. Benefit!
Now that all group members have their own version of user.csv, your project scripts can read it in and use it to handle any actions that require differences among users! See an example below:
# Read in user fileuser_info <-read.csv(file ="user.csv")# Use its contents!tidy_v1 <-read.csv(file =file.path(user_info$dropbox_path, "harmonized-data.csv"))# Syntax is the same as accessing a column in any other dataframegoogledrive::drive_auth(email = user_info$email)
Now everyone in your group can use the same script because their personal file paths are readily accessible without needing to be hard-coded! The same theory applies to any other piece of information your group finds it valuable to store.
Bonus: Help with Finding File Paths
Identifying and manually writing out the file path you want to preserve in this kind of file can be cumbersome so we’ve found a nice work-around (at least for Mac users) that you may find useful.
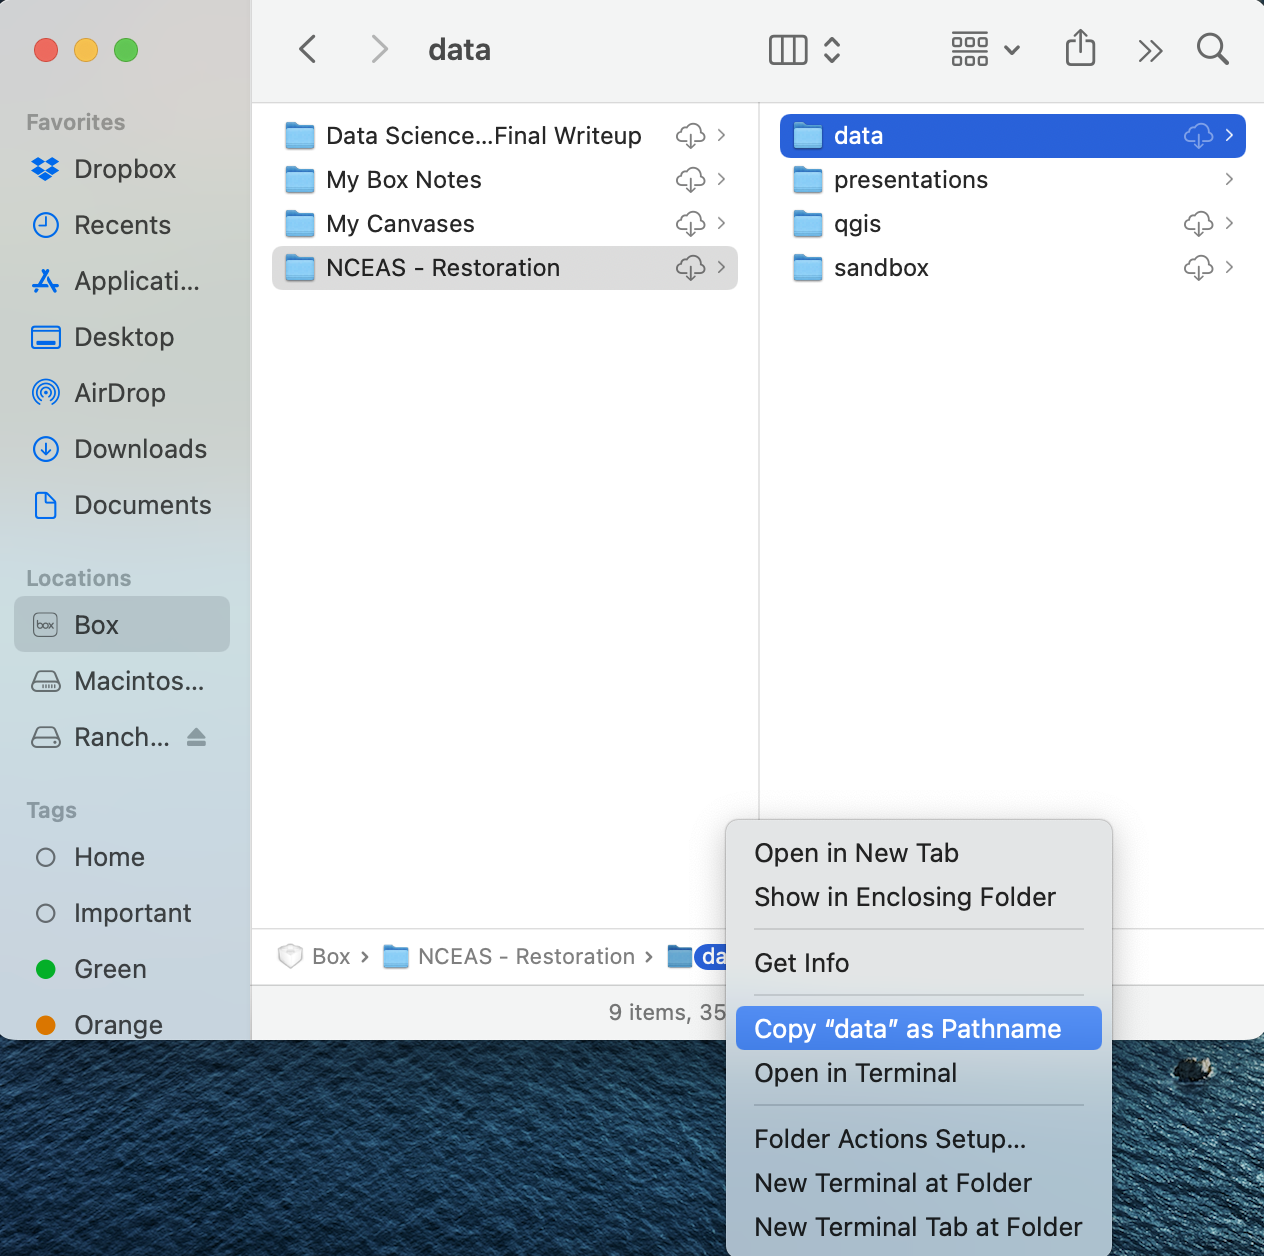
Open Finder and navigate to the last folder in the file path (i.e., the most nested one)
In the row of folder names in the bottom of the Finder window, right-click the folder name and select “Copy ‘<folder name>’ as Pathname”
Paste this into your code where you prepare to make your user-specific CSV