From your GitHub “Repositories” tab, click the “New” button.
In the resulting page, do all of the following
Name the repository
Add a (short) description
Make it Public
Only public repositories can support websites
Click the toggle to include a README
Add the R template for the .gitignore
Consider whether you want to add a LICENSE
Useful if you want to make sure visitors to your website have guidelines on how they’re allowed to use the content there
For more information on repository creation or on the .gitignore specifically, see the LTER SciComp GitHub workshop here.
Repository Name & Website URL Aside
The name you pick for your repository (and whose GitHub account owns that repository) determines the URL for the website hosted there! See below for some examples.
So, think about a repository name that will make your URL informative without being overly long if someone needs to type it manually.
WarningRepository Name-URL Exception
There is one critical exception to the above rule for how the website URL is related to the GitHub repository’s name! If the repository name is “owner.github.io” then that will also be the URL for the website (i.e., the “owner” part gets dropped from the URL to simplify things). See below for some examples.
GitHub branches are typically short-lived development spaces that operate parallel to the ‘main’ branch of a repository. The main branch is either called “main” or (for older repositories) “master.” If you don’t think you’ve used branches so far, you’re mistaken! All repositories have at least the main branch by default.
For more information on branches, see the LTER SciComp GitHub workshop here.
Deploying a Quarto website requires you make a branch named exactly “gh-pages”. We will never have to directly work in that branch but GitHub will use it behind-the-scenes to host the website. We could make this branch later, but let’s go ahead and do so now while we’re here.
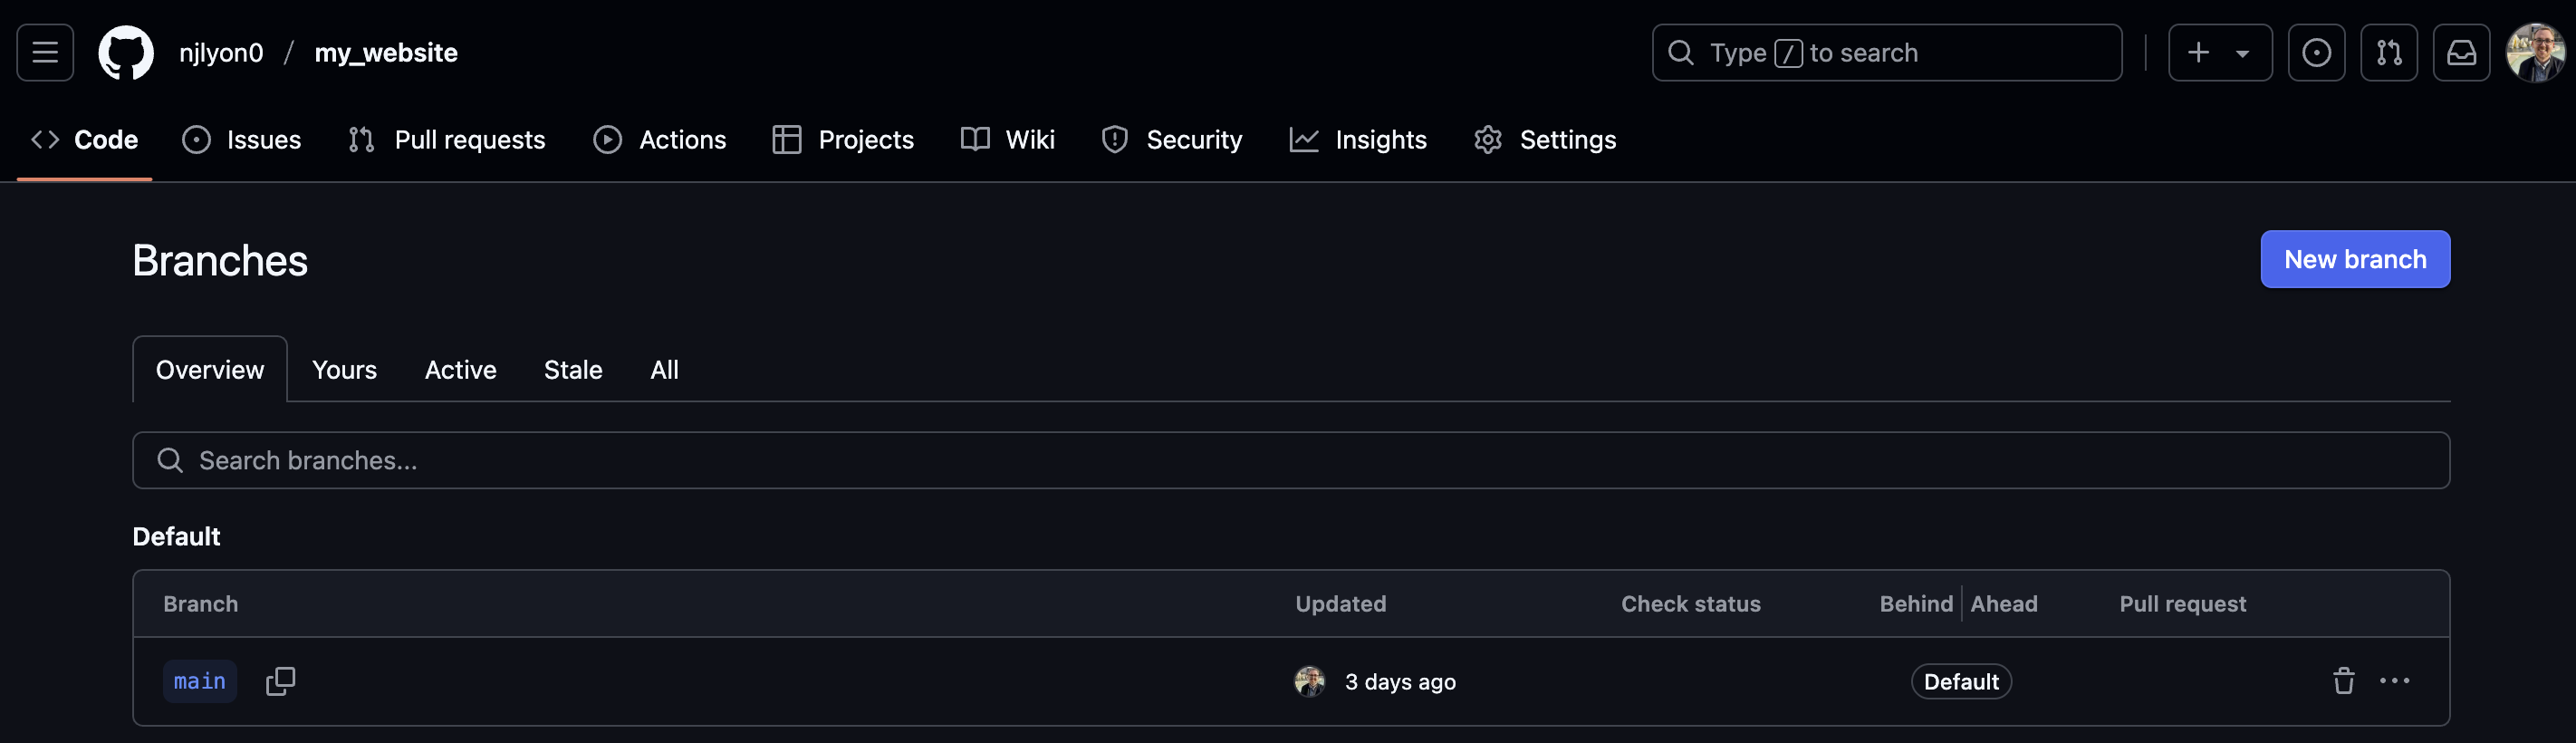
1. Check the Active Branches
From your repository’s home page, click the “ 1 Branch” button. It is on the left side of the same row of buttons as the “Code” button. Note that you can see your current branch name (likely “main”) just to the left of the desired button.
2. Start Creating a New Branch
In the resulting page, click the “New Branch” button in the top right corner.
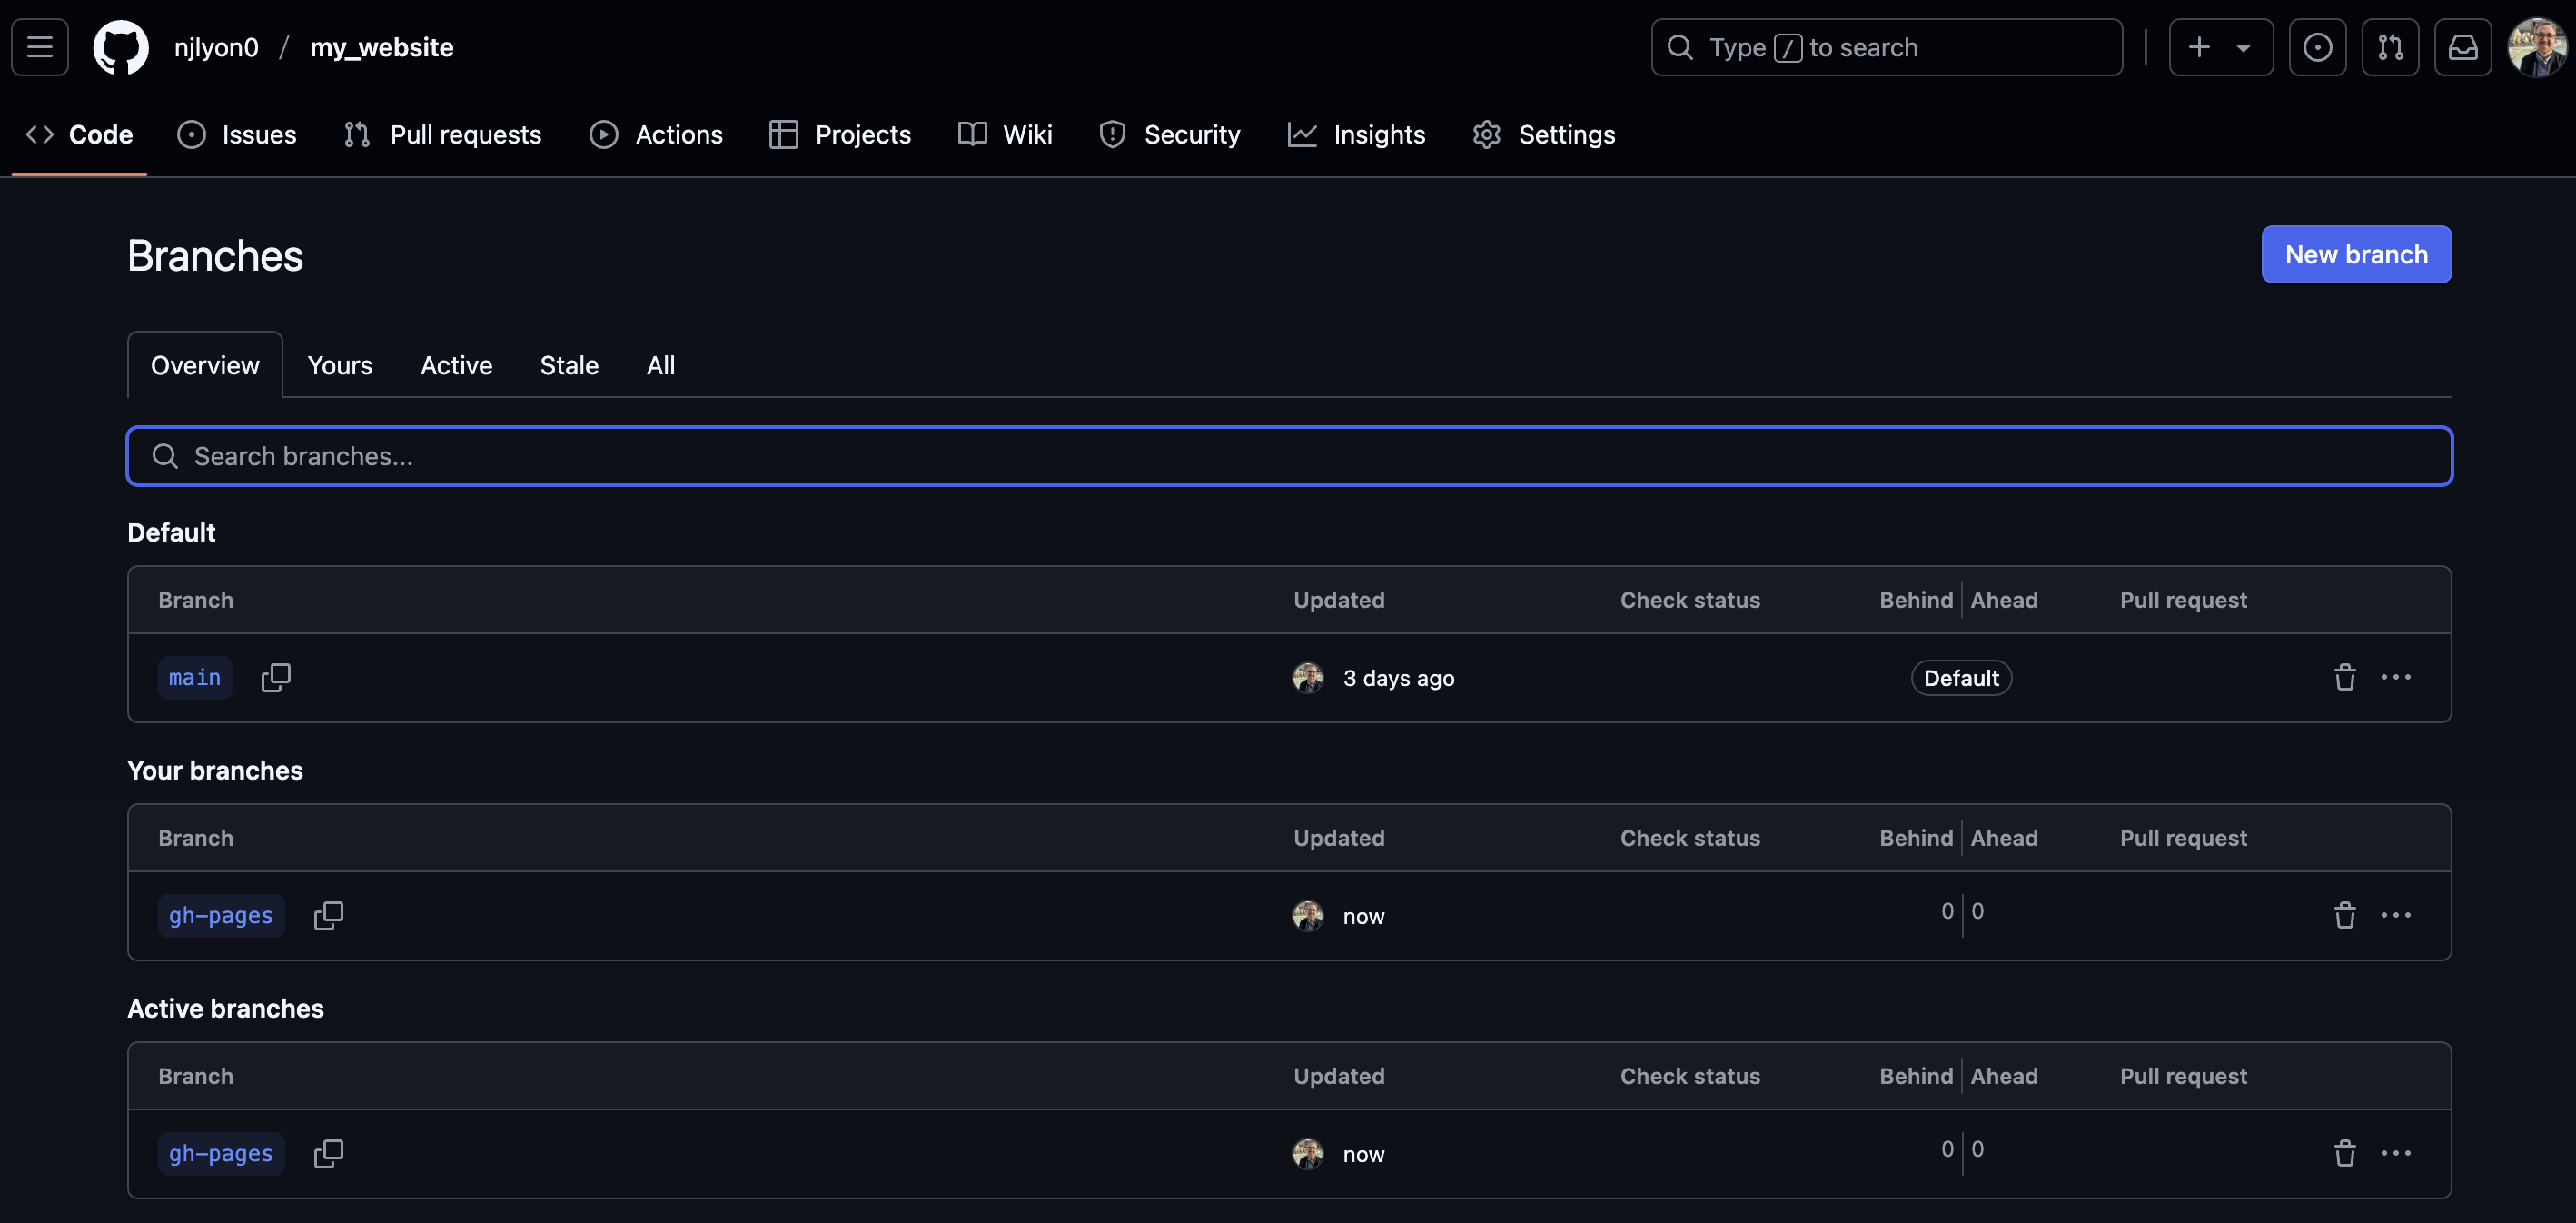
3. Actually Create the “gh-pages” Branch
The previous step will create a small pop-up window with an empty text field for you to enter the name of your branch. Type exactly “gh-pages” and click “Create new branch”. Note that “gh” and “pages” are separated by a hyphen. If you name this branch anything other than “gh-pages”, GitHub will not correctly host your website! So, triple check spelling/casing.
Once you’ve done that, the pop-up window should close and you should find yourself back on the ‘branches’ page but there will now be two active branches: your default starting branch and “gh-pages”!
You can now return to your repository’s landing page. You may see an orange circle or a check mark that is either blue or green next to the most recent commit message but we can safely ignore this for now.
Clone that Repository
Now that you have created a repository, we need to clone it locally so we can create the content we want in our IDE. This workshop assumes that you have some familiarity with the cloning workflow but please feel free to revisit the instructions embedded below from the LTER SciComp GitHub workshop.
Create Core Website Skeleton
Now that the GitHub repository is correctly set up, we have a “gh-pages” branch, and its all nicely cloned to your local computer, we can create the files that serve as the core website architecture.
Click through the tabs below–in order–to create the fundamental structure for your website.
Open your .gitignore file and add the following lines to the bottom. These are folders that Quarto needs to locally render your files but that we don’t want to track with Git.
# Quarto folders
/.quarto/
docs/
NoteOther Good .gitignore Additions
You might also consider adding the following to your .gitignore. This well help keep your repository free of unneeded contents as the website grows.
# R Project
*.Rproj

# Mac files
.DS_Store
Make a new file named exactly “_quarto.yml” (all lowercase, starting with an underscore). This file is your website’s global YAML and will define website-wide behavior.
Once you have this file, click the collapsed menu below and copy/paste all of its contents into your empty _quarto.yml file.
Feel free to edit this part! It defines the website title that appears on the left side of the navbar with Quarto.
2
Change this link to your GitHub repository’s link
3
Edit this link to the same destination as #2
4
Change this to be the current year and your name
Once you have that file, change the two lines that link to a GitHub repository to link to your website’s repository.
Make a new file named exactly “index.qmd” (all lowercase). This file will become your website’s homepage. For right now, you don’t have to add anything to this file, but if you’d feel more comfortable adding something, go ahead and add the following.
---title:"My Website"---## Under ConstructionCheck back later!
Test it Locally
To make sure that everything is set up properly so far, it is good practice to create the website on your computer (i.e., “locally”) before continuing. We can do this by running the following command line snippet.
quarto preview
This should create a new tab in your default browser application that shows a living version of what your website will look like after GitHub starts hosting it. The preview will keep going until you manually stop it (from the Terminal pane with the Ctrl + C keyboard shortcut) so feel free to make tweaks to either _quarto.yml or index.qmd while the preview is running. The preview will update a few moments after you save your edits to either of those files.
Render the Website
Once you’re happy with the preview, it’s a good call to completely render the website just to make sure all of your most recent edits are reflected. You can do this with the following command line code.
quarto render
This may create a docs/ folder and a _freeze/ folder depending on whether you have code chunks in index.qmd (or anything else requiring computation). docs/ will show up in your file explorer but not the area reflecting Git because of how you expanded the .gitignore earlier. _freeze/, on the other hand, should show up in both locations if it is created during rendering.
Commit & Sync
Once you’ve done the preceding steps, commit everything that the above instructions directed you to make or edit. After you’ve committed these, push/sync them to the GitHub repository!
Activity - Try it Out
NoteYour Turn!
Let’s take a break while each of you works through the above tutorial on your own computers!
Once everyone has the fundamental structure of a website created and in GitHub we can move on to “deployment” which turns this collection of files into a living website!