
GitHub Projects
What is a Project?
Projects are GitHub’s primary strategic project management tool. While issues can be very useful for particular tasks at a tactical, on-the-ground level, they are less valuable for making larger-scale plans and tracking evolving priorities. A project acts as an umbrella that includes many issues and tracks their inter-relationships and where they fit in a bigger-picture view of a project.
Using Projects
Projects can be super useful, but they also include a non-trivial amount of setup and maintenance. So, you should use a GitHub Project only if most of the following applies to you:
- You use issues extensively
- You use many metadata features within issues
- E.g., assignees, labels, issue relationships
- You have at least three repositories, all with their own issues
- Project management is exciting to you
At the LTER SciComp team we use Projects extensively, but that’s because all three of those statements apply to us! For many working groups, using issues and issue metadata can be enough for the scale of their project. However, if you do decide you want to use Projects, check out the information contained in this module!
Project Ownership
Projects can only be owned by a particular user or an organization. In either case, any number of users can be allowed access to the project. The list of all projects owned by an organization/user can be accessed via the “projects” tab. Note that this tab’s name is consistent for users and organizations; organizations just have more tabs to support the expanded set of tools available to them. Note that in the screenshot below we are in an organization (“lter”) not a specific repository.

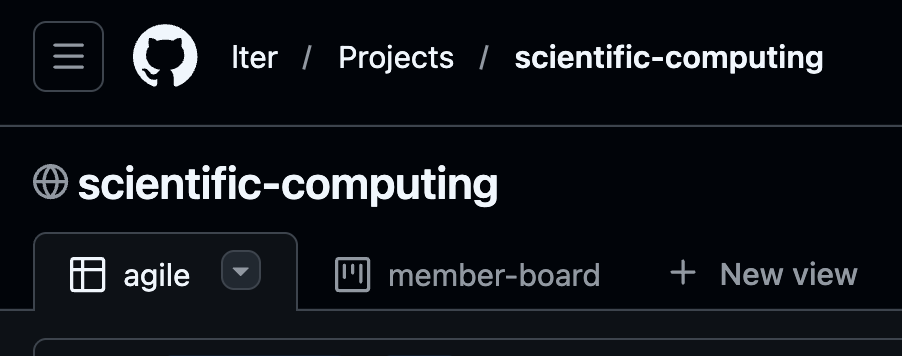
Once a project has been created, it can be “linked” to any number of repositories owned by the same entity. This can be done from the “Projects” tab of each repository to which linking is desired. Note in the top left of the screenshot below that we are in a repository owned by the LTER GitHub organization.

Using Projects
Within the team that created this workshop, we use issues to track and document the work that we do on behalf of working groups. Because there are so many issues spread across so many repositories, we are an ideal candidate to maximize the value of GitHub projects. See below for a screenshot of what our project looks like (as of early spring 2026).
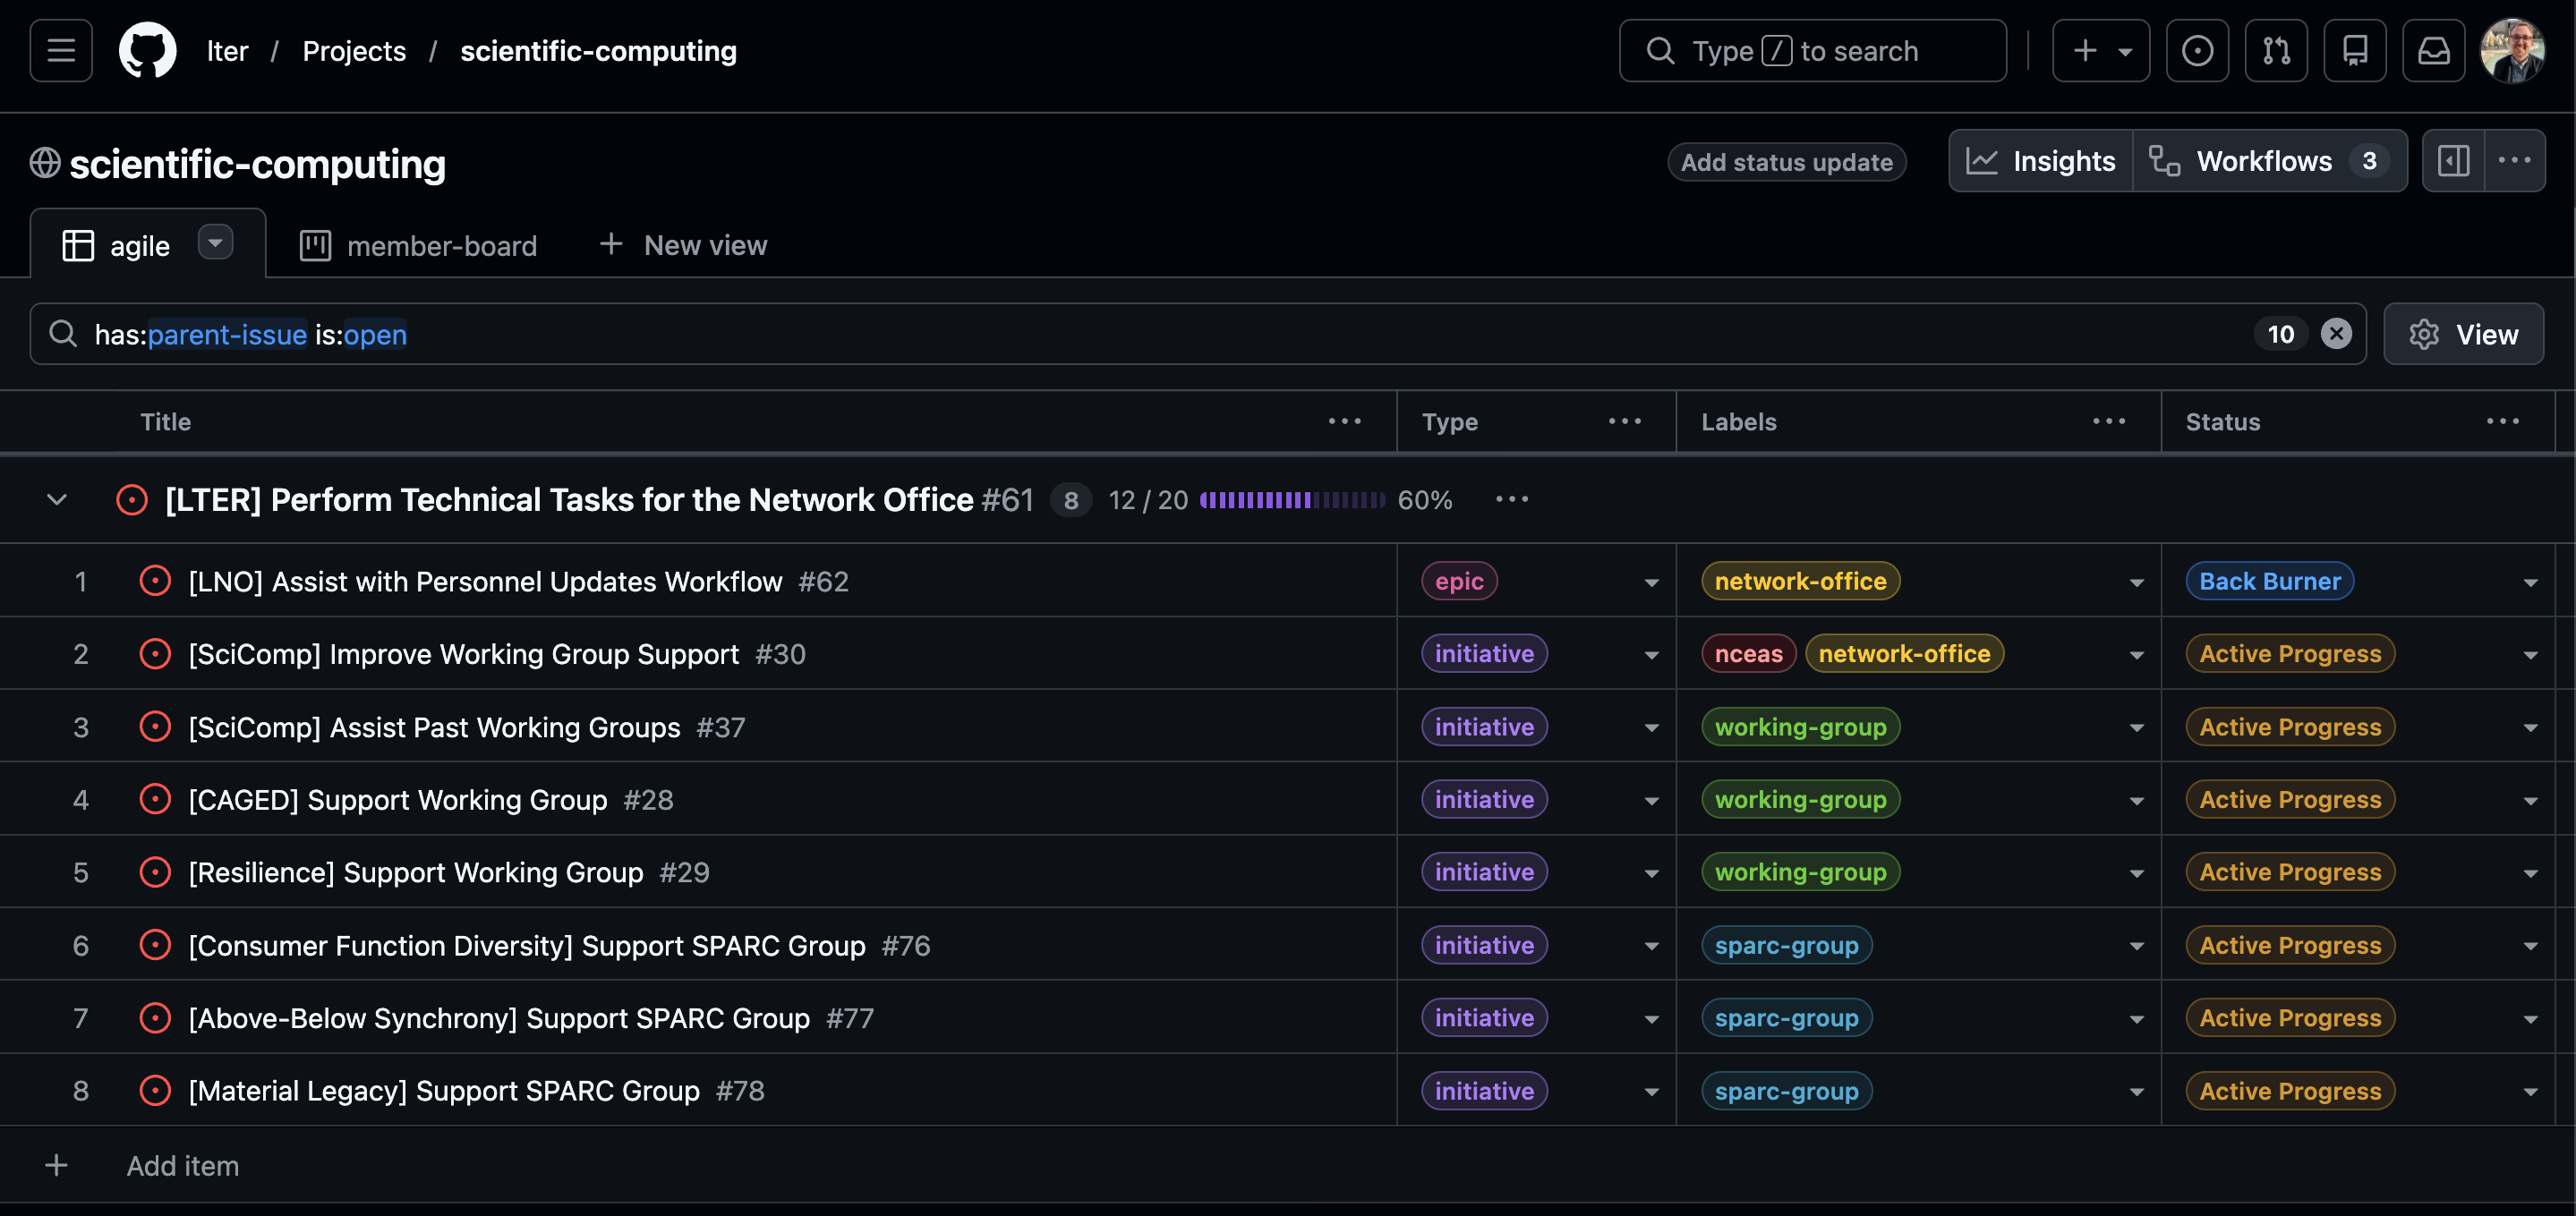
Note that the issue above has the view set to nest issues beneath their parent issue because our team also extensively uses the issue “relationship” feature. See the issues module for more detail on that feature.
Customizing Project Interface
You can change which metadata fields are visible, how issues are grouped or sorted, and even the project view itself by clicking the “ View” button (top right corner) and customizing the options within the resulting dropdown menu.
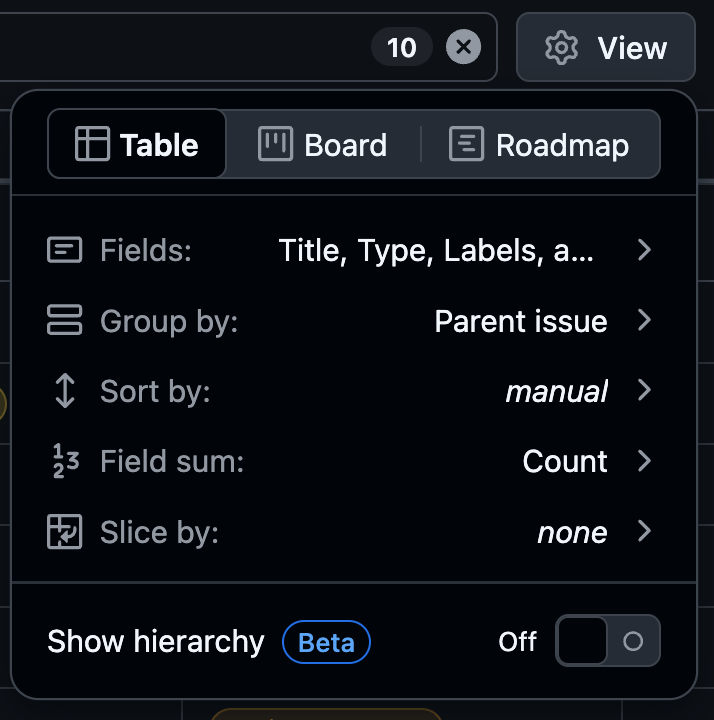
If you want, you can also add and customize multiple separate views in the same project! This is a great choice if your group includes a variety of thinking or learning styles and the separate tabs will all have the same issues included.
Integrating Issues
After you make a project, you’ll want to add issues to it! You can either add issues to a project from the issue itself or from the project directly. See the tabs below for instructions of either approach.
Adding an issue to a project can be done from the issue’s metadata options. You can do this when you first create an issue or after the fact. In the screen captures below, we’ll show how to do this with an existing issue.
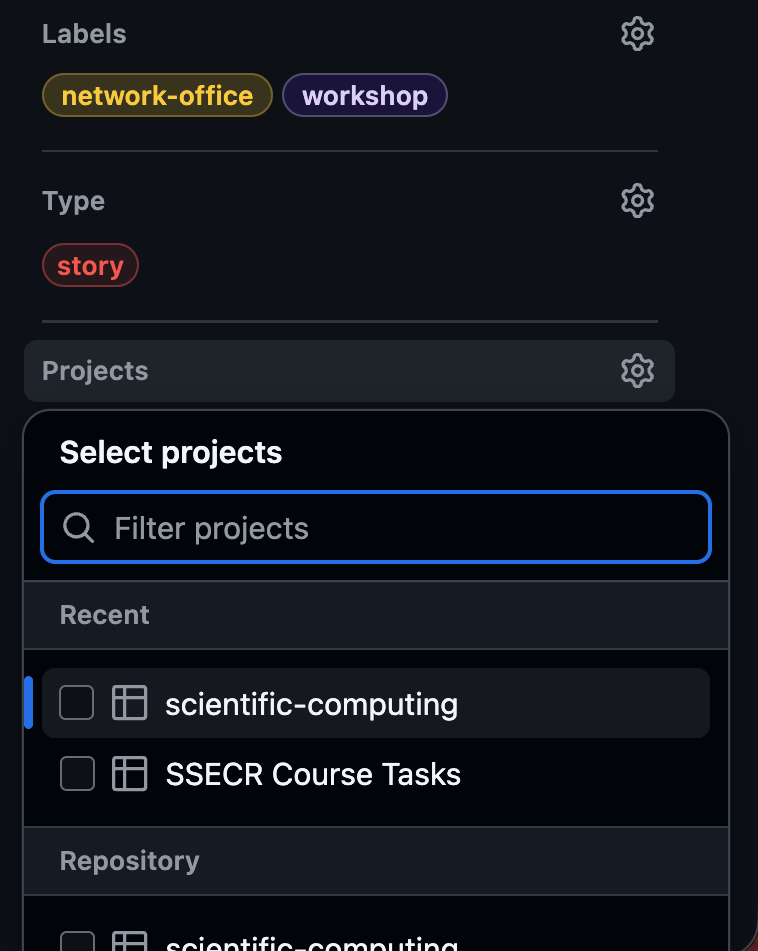
To start, go to the issue you want to add. Once you’re there, look at the metadata sidebar and find the “Projects” section (should be just above “Milestone” and just below “Type”). Next, click the gear icon in the top right corner of that option.
This should give you a list of the projects that: (1) you have recently opened, or (2) are linked to the repository in which the issue lives. Check the box next to the project to which you want to add this issue.
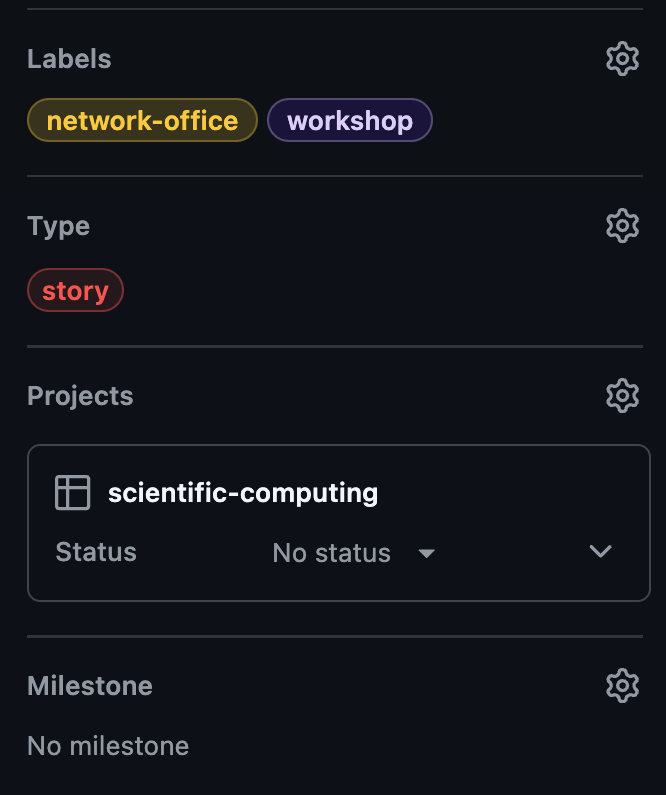
Once you’ve chosen your project, the metadata sidebar should update to show which project the issue is now linked to. However, it adds a new sub-field called “Status” that likely says “No status”. “Status” is a project option that you can use to track the lifecycle of an issue. The default options are “To Do”, “In Progress”, and “Done” but you can add custom ones if you want!
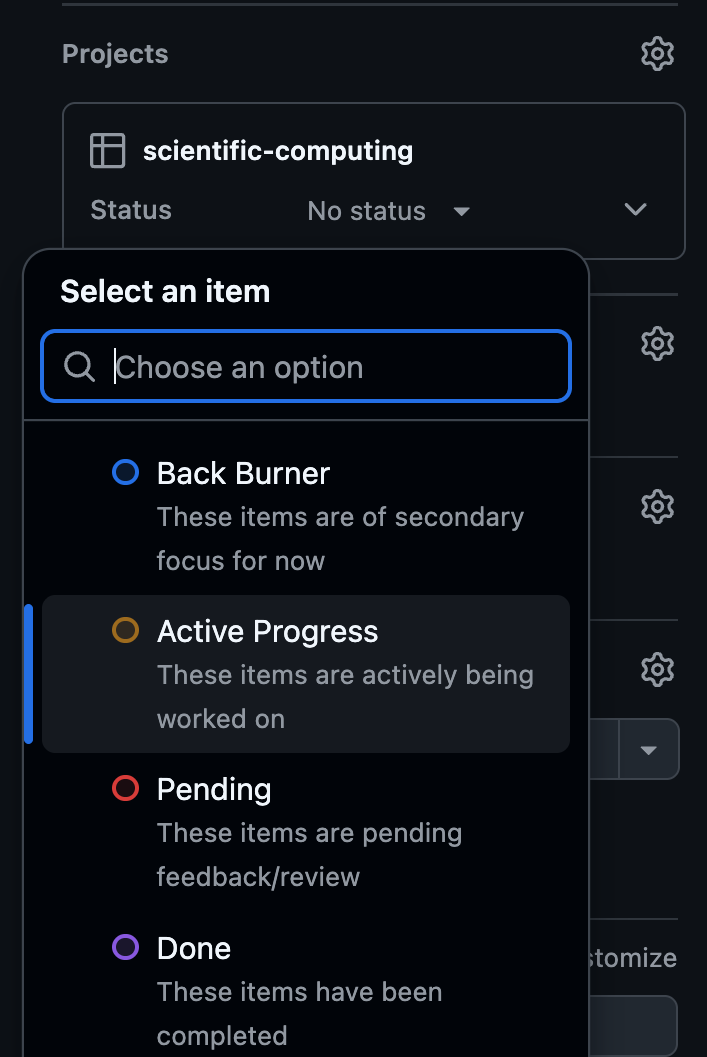
Click “No status” to see a dropdown menu of statuses available in your project and pick one from the list. In this case, we’ll pick “Active Progress” as we are currently working on this issue.
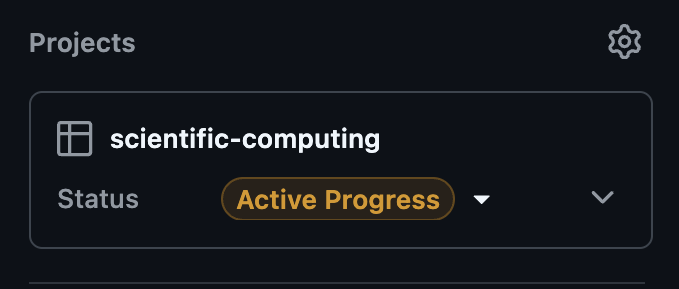
Once you’ve done this, the chosen status should be visible in the metadata of the issue. If you change the status (either from the issue or from the project), it’ll update here. The history of statuses of this issue will also appear in the chronological comments on the left sidebar of the issue.
Adding an issue to a project can be done from the project itself as well. This is a little more straightforward than adding from the issue as some pieces of data (e.g., project status) are specified implicitly depending on where in the project you add the new issue.
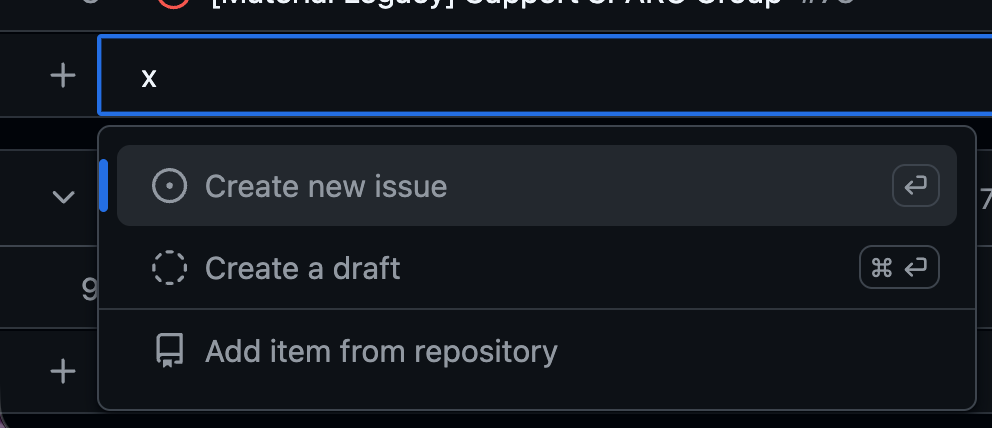
At the bottom of most project views, there should be a small plus sign button. Click it and you’ll be able to either (A) add a new issue that is attached to this project, (B) create a “draft”, or (C) add an existing issue from a repository to which this project is linked.
If you start typing the title of an issue, this dropdown menu should automatically update itself with issues in repositories linked to this project that have a partial match to what you are typing.
A “draft” in this context is sort of a partial issue that is specific to projects and can’t be created elsewhere. For the sake of clarity, we recommend either making a new issue or adding an existing one rather than using this somewhat ambiguous option.